Initial Configurations
This topic applies to administrators of Certificate Manager and Determination.
This topic explains Determination and Certificate Manager configurations that were not included as part of the Certificate Manager installation routine. Complete these remaining steps before using Certificate Manager.
Determination Configurations
Before using Certificate Manager, configure Determination to control user access and to set up your company. Complete the tasks below by logging on to Determination (http://<host>:<port>/sabrix) as a user with administrative privileges.
Assign Determination User Roles
Certificate Manager users log on using their Determination user names and passwords, which means access is controlled by Determination user roles.
Decide the level of access appropriate for each Certificate Manager user, and assign roles for the corresponding Determination company.
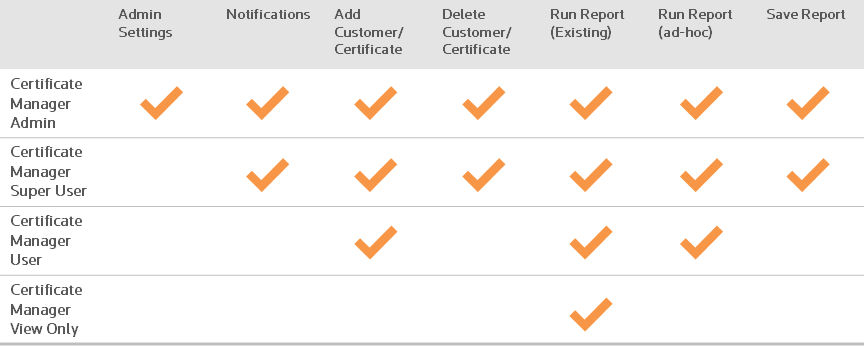
To assign roles for Certificate Manager:
- In the upper-right corner of Determination, select the company that is tied to the user.
- Go to Menu > System > Users.
- Click on the user to edit.
- Click the Roles tab.
- If the user has the Certificate Manager role, revoke it by inserting today's date in End Date and clicking Submit.
- Attach a new role by clicking Actions > Attach Role.
- Complete the fields listed in the table below:
User Roles
Field
Description
Role
Select one of the following roles:
- Certificate Manager Admin
- Certificate Manager Super User
- Certificate Manager User
- Certificate Manager View Only
The role Certificate Manager is not used in Certificate Manager.
Company
Select a Determination company.
Start Date
Insert a start date.
End Date Insert the end date (optional). Is Cascading Select this check box to apply this role to child companies. - Click Submit.
- Repeat steps 1–8 to assign roles to additional users.
Configure Determination Company
Confirm that your company is configured to use exemption certificates:
- Go to Menu > System > Companies and click the company you want to configure for exemption certificates.
- Click Company Preferences.
- Select Uses Exemption Certificates in the left column.
- To set the items in the right column, use the table below as a guide:
Exemption Certificate Preferences Field Reference
Field
Required?
Description
Auto-Create Exemption Certificates
N
Do not select this check box (auto-creation of certificates is not available in Certificate Manager).
Auto-Create Customers
N
Do not select this check box (auto-creation of customers is not available in Certificate Manager).
Exempt Temporary Certificate Transactions
N
Do not select this check box (defaulting temporary certificates is not available in Certificate Manager).
Active Exempt Cert Customer Group
Y
DEFAULT
Certificate Manager only uses the DEFAULT customer group in Determination.
Default Exemption Certificate Status
N
Set this to None.
Default Days Valid
N
Set this value to 0 (zero).
Default US Exempt Reason
Optional
A default exempt reason to apply to US transactions. Click the magnifying glass icon to search the list of configured reasons.
Default INTL Exempt Reason
Optional
A default exempt reason to apply to non-US transactions. Click the magnifying glass icon to search the list of configured reasons.
- Click Submit when you finish configuring the company.
Certificate Manager Configurations
Complete the following additional configurations in Certificate Manager as a Determination user with the Certificate Manager Admin role.
Load Certificate Forms
Certificate Manager requires an initial import of certificate forms. Complete the steps below to download the form file and upload it into Certificate Manager.
- Log on to the Customer Center by entering the user name and password assigned by Customer Support.
- Under Available Products, locate Certificate Manager Forms Content.
- For Current Installed Version, select None.
- Click Download, and then save the forms .zip file to a directory on the system hosting Certificate Manager or to a networked folder that can be accessed by that system.
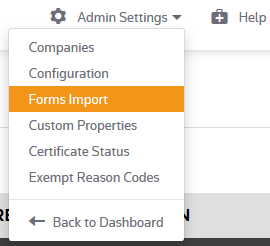
- In Certificate Manager, go to Admin Settings > Forms Import.
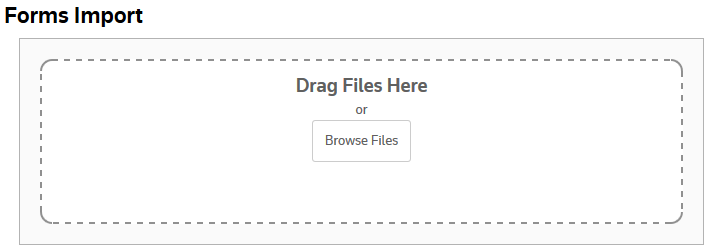
- Start the upload by dragging the forms .zip file into the rectangular upload box.
- Details about the import are displayed under Import History.
Configure Custom Properties
Custom properties are fields you can create for users to add extra information to certificates, customers, or contacts.
- Click Add Custom Property, and then click For Certificate, For Customer, or For Contact.
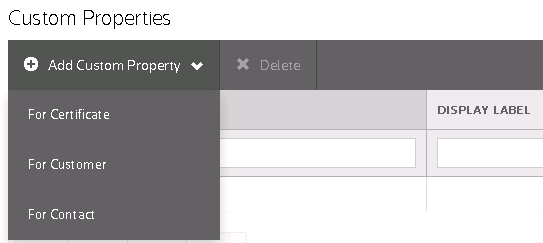
- Complete the following fields:
Field Required Description Name Yes Enter the name used to identify the custom property. Display Label No Enter the label that users see when they add the custom property. The default is the value of the Name field. Description Yes Enter text that helps you identify a custom property. Attach property to company Yes Enter the company or companies for this custom property.
Required Yes Decide whether users must use this field. The default is No.
Type Yes Select the type of field users see:
- Text: This option creates a blank free-form text field.
- List: This option creates a drop-down list of values. Enter your values, and if you need more fields, click + Add Value.
- Click Save.
Configure Certificate Status
Assign the certificate status values to user role and set the default certificate status:
- Go to Admin Settings > Certificate Status.
- Select values that are appropriate for each user role:
Field Description DEFAULT STATUS This is the initial status that appears on certificate forms. Select one of the following:
- Approved
- In Review
- Temporary
- Unapproved
- None
Choose a value that is selected under AVAILABLE STATUS VALUES.
AVAILABLE STATUS VALUES Select the status values that are appropriate for each user role:
- Approved
- In Review
- Temporary
- Unapproved
- Click Save.
Configure Exempt Reasons
If exempt reasons are already set up in Determination, along with a default, you can skip this section.
- Under Company, click Select Company.
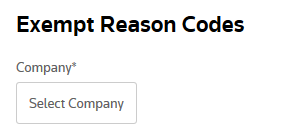
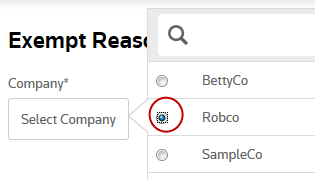
- Select a company, and then click Done.
- Click Add Exempt Reason.

- Insert values for the exempt reason:
Exempt Reasons Field Reference
Field
Required
Description
Short Code
Y
Enter a unique two-character code associated with the exempt reason.
Long Code
Y
Enter a unique 20-character code associated with the exempt reason.
Description
Y
Enter a description of the exempt reason, up to 200 characters long.
Set as Default Reason N Select this option if this is the default exempt reason code. - To save your settings in Certificate Manager and Determination, click Save.
- Repeat steps 3-5 to add additional codes.
Disable Installer User
Now that the installation is finished, disable the built-in administrative user called installer. Check Disable this account under Admin Settings > Configuration > Account Configuration.
If you prefer to keep the installer user, change the default user name and password.